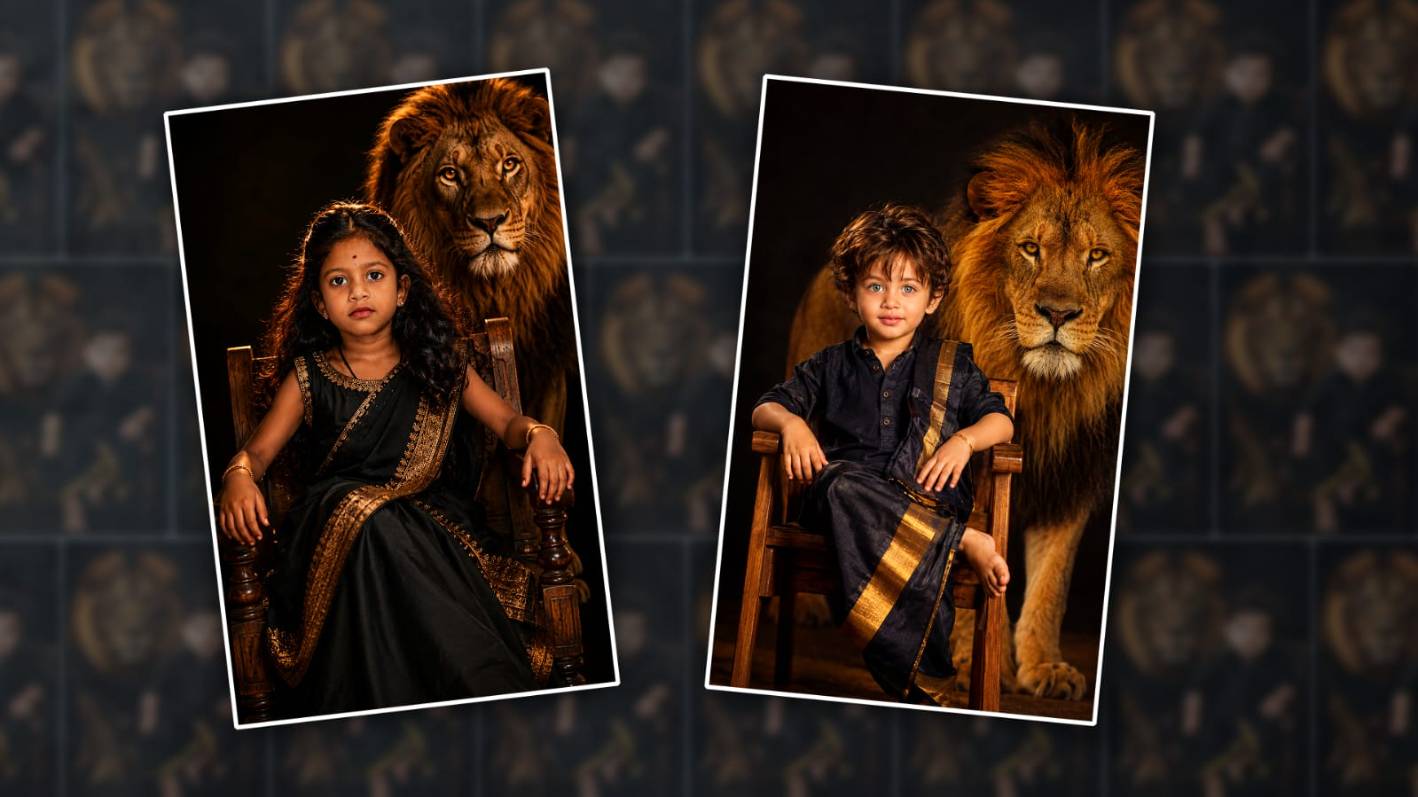

Hello everyone, in this article I will tell you how to edit two traditional photo editing methods, like Lion Effect South India, which is currently trending on social media and Kids Photo Editing. That too in the Alight Motion app. Actually, many people are editing using AI tools because AI edits very fast and professionally in high quality, as we like. So I will also explain to you in two methods. One is how to do it in Alight Motion. Then I will also tell you how to do it using AI.
Requirements Materials
- Texture, i.e., a dark red background image.
- Second is your photos.
- Third is the Lion photo.
- Then some lighting effects PNG images.
- Another thing is that the Alight Motion app should be installed on your mobile.
- Then, if you use AI tools, for example, ChatGPT or Google Gemini, install these apps on your mobile and be ready.
Now let’s start editing. First, you open the Alight Motion app. When you open it, select the ratio there, select the background frame rate and also the quality. But the ratios are only four. For photo editing, you should select onlythe 4:5 ratio. Click on Create Project, then Next. It will take you here. First, you have to add the background image.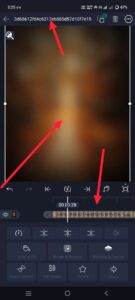 Here again, after you come back, there will be a plus icon in green colour; click on it, and there will be a Media option. There, add a background image in a good dark colour. While you are editing, save all the materials in the same folder in the gallery. Because when you go to a single folder while editing, if all the photos and videos are not visible, you will not be able to l do the editing quickly, so you save all the same folder and add a background photo from it. After adding this background photo, do not set any duration because this is photo editing, so it does not matter how many seconds you add it. Then, if you want to add a little colour to this background image and increase the quality a little, simply come back and click on the green colour plus icon or click on that layer, nd click on the effects option and click on add effect; it will take you to the effects. Search in those effects.
Lion Photo Effect Add
Now we need to add the Lion Effect photo. 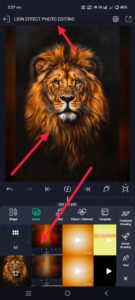 For this, as mentioned earlier, add the Lion Effect from the same Plus icon Media Option Gallery. It is better if the Lion Effect has a black screen because if it has a black screen, we can apply it very beautifully using the blending options. If it is a PNG, it is too much. Now you add this Lion Effect photo and add it to the background. We need to make sure that there are many of our photos. If you add left or right, the lion photo will appear full. After typing this, if you want to use blending, you click on that layer and in the options below, there will be a blending and opacity option. Click on it.
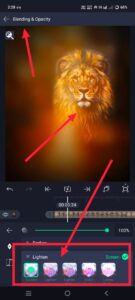 There are many blending options in it. If you scroll down a little, there will be a light option. If there are many options in it, it doesn’t matter which one you use. Use light or screen. Then make adjustments to that photo. Now we want to include our picture. When editing our images, we want to make sure that our image is in PNG format; We want to make sure it’s long in PNG format. background must be removed. In this program, we do not have a special option to get rid of the historical past; however, we only remove it if there is a shadow in the background.
Add Your Photo
So, if your photo has a single-colour background, you can go to Effects and use the Chroma option.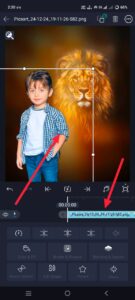 Now adjust your photo. After adjusting, put it in the centre and apply Smooth at the bottom. For this, click on your photo or photo layer again and go to the Effects option. After going, click on Add Effect and select the Feather option or effect from the Effects. Take the Standard setting and use the settings in it. If you increase the smoothness from the bottom, we will have a professional look. Photo editing will also blend in with that background.
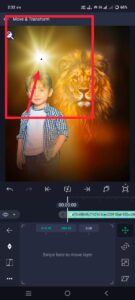 After making these adjustments, apply a lighting effect on top. For this, again go to the green colour plus media option gallery and apply a lighting page image or lighting effect and again use the blending and opacity options for this lighting layer. After the photo editing is done, if you want to save it, click on the share option on the right side; then there will be a current frame as a PNG option. Click on it; then the save option will come. Click on it,
Same Editing using AI
Now let’s find out how to edit using AI tools, but I will take it as an example. After ChatGpt, open the website or application, open it and there will be a plus icon again, click on it, upload your photo there, which is in HD quality, after uploading, give the text under that photo how you want the photo to be edited, if you don’t know and you don’t think it will come in English, you can give it in Telugu, for example, the photo I uploaded should have a line in the pending lion effect background, add pixels to my face smoothly, bright and generate it in HD quality, if you give it clearly, it will take some time and generate it. After clicking on the photo, save it. The option will appear; click on it at the bottom or top, and you can save your photo.
Edit with Other Applications
Even if you are not familiar with this photo editing, if you know how to edit in any photo editing application, you can also edit it in it. For example, there are many photo editing applications like Lightroom or PicsArt Snapseed. In Gemini, you just need to select Nano Banana, then upload the photaddd give text under that photo. Everything else is the same process. This is how you can edit.
Girl Prompt
“Ultra-realistic cinematic portrait of a cute South Indian little girl sitting confidently on a wooden chair, wearing a stylish black traditional outfit with golden border details, curly hair, expressive eyes, soft glowing skin, dramatic moody lighting, a majestic lion standing behind her symbolizing power and courage, dark black background, warm golden highlights, shallow depth of field, luxury cinematic photography, ultra detailed, 8K HD, Instagram trending edit, powerful aesthetic vibe, sharp focus, realistic shadows, high contrast color grading.”
Boy Prompt
“Excellent cinematic portrait of a cute south Indian little boy sitting expectantly in a wooden chair, fashionable black with hints of gold border, curly hair, expressive eyes, smooth glossy skin, dramatic moody lighting, imposing lion stitching behind a trampoline and a trampoline symbolizing black travetti strength and (Dhoti/Kurta) carries golden highlights, shallow intensity of area, luxurious cinematography, very special, 8K HD, Instagram trending edit, powerful aesthetic vibe, sharp recognition, sensible colors, excessive evaluation and color grading.”
