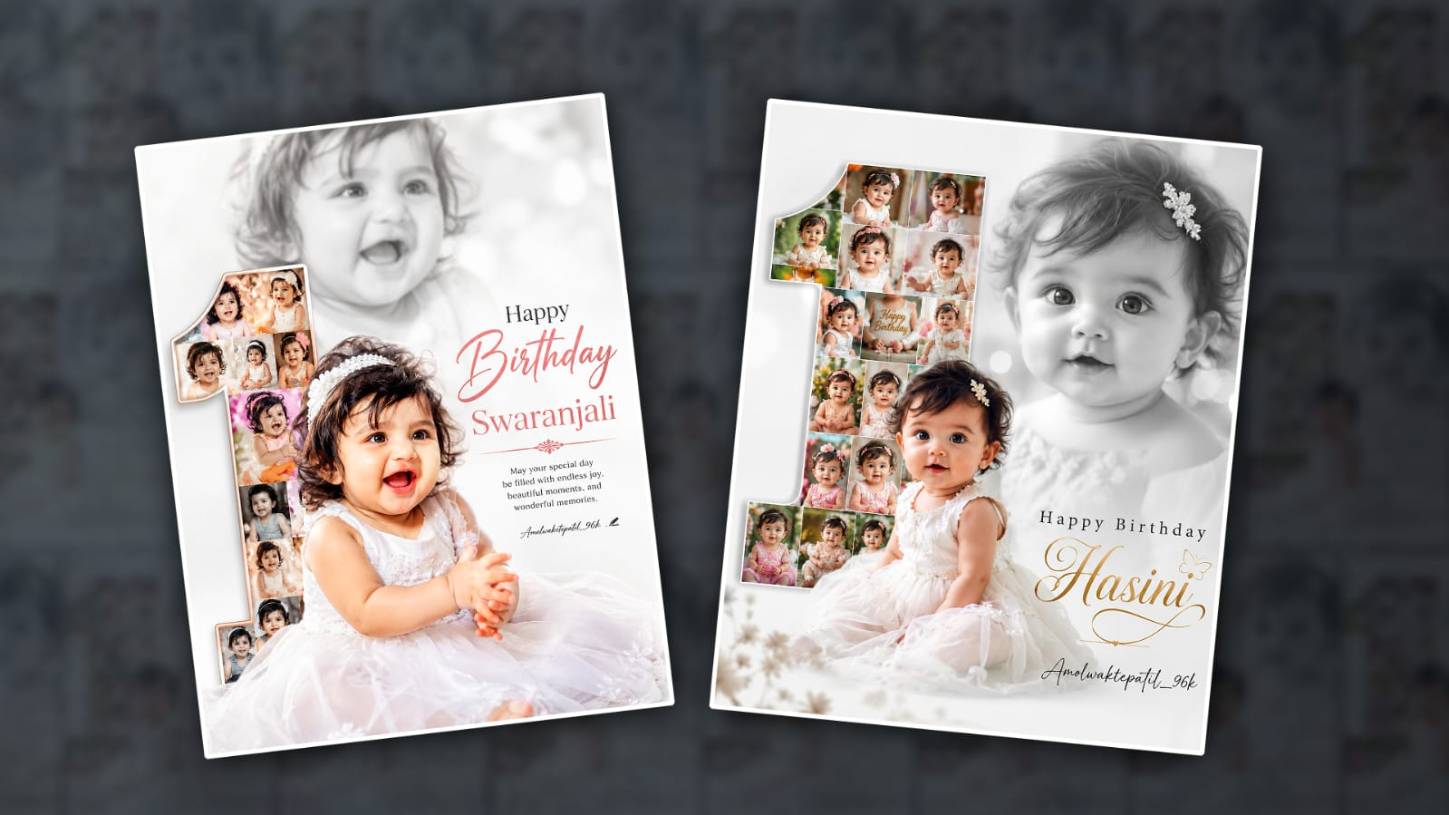

Hello everyone, in this article, we will learn how to edit a kid’s first birthday invitation poster or photo, too, in the Alight Motion app. Anyone can edit it very easily. If you are looking for first birthday editing for your clients, then edit this photo or edit this poster very simply; you can edit it easily. Read this article completely,y and you too can learn and edit it.
What is Needed: Editing Resources
- One or two baby photos
- Plain white background image
- Some first birthday-related decorative PNG images
- Stylish fonts
Open the Alight Motion app. After opening it, select the project. Select the 4:5 ratio and choose the background colour white or black. Click on Create and open it. It will take you to the next page. Here you will first see that this application is for video editing. It can be edited in a professional cinematic style. You can do 3D editing, 2D editing, animations, cartoon animations, etc. In this application. In addition, we have project sharing and very easy editing to replace our photos using the project. However, apart from video, you can also edit photos in this photo editing app. Why do you do this photo editing? There are many options in this, so there are also some photo editing-related options.
Background Adding
So, if you want to do photo editing in this, first we need to take a photo with a background. For this, here we have a plus icon in green colour at the bottom of the timeline. Click on it. Then, a little further up, you will have some options. In it, there is a media option.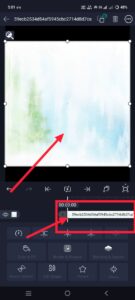 Click on it, select the background from the gallery, add it there and fit it to the screen. After fitting, there are 2 methods you can use to fit here. First, there is an option called Transform in the options below. Go to it. There is a scale option. You can also fit using that option. Another thing is that you can also click on the three dots on the right side at the top.
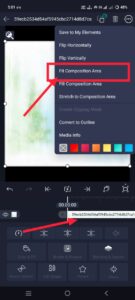 Then there is a fourth or fifth option called Fill Composition Area. If you click on it, you will automatically set that photo as your screen. Now we need to add some decorative PNG images to this photo.
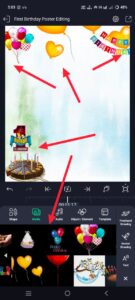 For this, go back again, click the plus icon again, click on the media option, and add some decorative PNG images from the mobile, such as a birthday cake photo or a balloon photo. Do this to give the entire site a feel in the corners.
Baby Photo Adding
Now, after doing this, add the photo, i.e. the baby photo here. For this, do not click on plus again; go to Media, then select the baby photo from the gallery and add it. Then add this photo in the background and apply a black-and-white effect to this photo.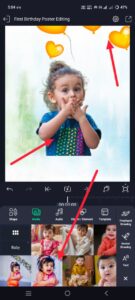 After adding this photo, you need to add some effects to improve the quality of this photo a little. Where are the effects? That is, when you click on this layer at the bottom, there will be an effect option. Go to it. There will be an Add Effect. Click on it. If you have many effects there, search for them and add those effects. For example, saturation is related to colour grading. Also, sharpness improves the clarity of the image a little. So use some other things to improve it.
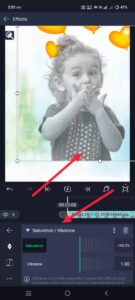 Then, change this photo to black and white. Simply click on this baby image. Then go to Effects again and click on Add Effect and search again. There, saturation is what we said earlier to collect. We should add it here too and take it in minus. If you take it in plus, the colour will increase, and if you take it in minus, the colour will decrease. That is, it will change from black and white to black and white. Take it in a low negative value, and the whole image will become black and white. For this, go back and click on the Move and Transform option, and there will be a scale option. Click on it and increase the image size. Then make it larger and align it a little in the centre. Slightly align it to the right side or the left side. After that, you need to add another photo.
Main Photo Add
The main photo should be in colour. Same as mentioned earlier.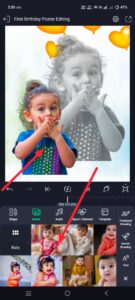 Add a photo from the plus icon in the media galleries. This photo should also be in colour, with HD quality improvement. Quality improvements. For this, apply any effects that were mentioned earlier. After applying, now you need to add a photo like the one taken now, but a little below the centre. However, you need to apply smoothness to these two photos. If you apply this smoothness, the look will look professional without cropping. What you do for this is to come back again and go to the same effects again, and there will be an option called Wipe or Feather. If you apply this and apply both, then in the next step, add another birthday cake or balloon on top of this photo.
Happy Birthday Text Create
Then add a text as well. First, we took a text called Happy Birthday.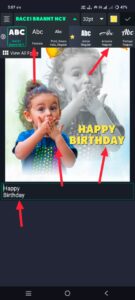 For this, come back again, and there will be an option called Add Text. Click on it. After clicking on it, you will have a text there; start it, say First Happy Birthday, then take another text separately and add it. So in this way, take two texts and set the font styles, size and colours related to them above and align them so that they appear slightly above. Apply the colours properly. So even after doing this, almost all photo editing is done. So now,w if you want to save this, check everything once. A common mistake that many people make is that not supply this smoothness. They do not add smoothness. Similarly, this photo alignment is not correct. They do not even know where to add the text.
Improve Photo Quality
Inability to improve text colours and image quality, as well as not being able to apply font styles properly, adding a quality image and directly applying colour and editing it, completely loses the professional look due to such small mistakes.
Final Checks
So what you do is check that everything is correct and save it. If you want to save it, there will be a share option at the top on the right side. So after editing this photo, if you want to convert it to high quality, you can use any third-party application, or if you want to edit it directly in HD, you can use it for a fee; you can useGoogle Geminim for easy editing. Just add a photo and write the text under the photo as you want to edit it. It will automatically take some time to edit it and then save the photo.
Editing with Other Methods Using
Now, if you want to edit this photo in high quality, simply use the PicsArt app, add the photo, and click on the tools option, and there will be an option there. Click on it, and there will be an AI option. When you click on it, the internet should be on the mobile. Then it will work. After clicking, it will start processing. It will take a little more time. Then it will edit the photo. You can save it from here too. If you have any other doubts, you can comment on this. Editing
Prompt
Ultra-realistic baby birthday collage poster, large number “1 photo frame filled with baby pictures, cute baby girl in white frock, black-and-white blurred background portrait, soft cinematic lighting, minimal white background, elegant “Happy Birthday Smiley” dreamy aesthetic, high detail, 8k.
