
Creating a cinematic lyrical video in Alight Motion can completely change the way your music edits look. Instead of simply placing lyrics over a background, you can combine smooth motion, stylish typography, cinematic colours, transitions, effects, and perfectly timed animations to make the video feel professional and engaging. The good thing is that you do not need expensive editing software or a powerful computer to get this kind of result. With some creativity and patience, Alight Motion gives you almost everything you need directly on your phone.
The first thing you need is a good song. Since the lyrics are the main part of this type of edit, choose a song that has meaningful words, a strong beat, or a section that creates an emotional feeling. Trending songs can work especially well for short-form content because viewers may already recognise the audio. Once you have selected your song, import it into Alight Motion and listen to it carefully. Before adding any effects, understand where the important beats, pauses, and changes in the music happen. These points will later help you synchronise your text and transitions.
After importing the song, create a new project with the aspect ratio you want. For Instagram Reels, YouTube Shorts, and similar vertical videos, a 9:16 project is usually the most suitable. Choose a resolution that keeps the final video sharp without making the project unnecessarily heavy. If your phone can handle it comfortably, working in a higher resolution can help maintain quality when you export the final edit.
The background plays a bigger role than many beginners realise. You can use a cinematic video clip, a slow-motion scene, a city at night, nature footage, a portrait, or even a simple dark background. Try not to choose something that is too bright or visually complicated because the lyrics should remain easy to read. A slightly blurred or darkened background often works beautifully. You can also add a black overlay with reduced opacity to give the footage a darker cinematic atmosphere.
Now comes the most important part: adding the lyrics. Type each line separately instead of putting the entire lyrics into one text layer. This gives you much more control over timing and animation. Select a clean font that matches the mood of the song. Bold fonts can work well for powerful lyrics, while thinner fonts can create a softer and more emotional feeling. Avoid using too many different fonts in the same video. One or two fonts are normally enough.
Text placement is also important. You can keep the lyrics in the centre for a classic cinematic style, or place them slightly above or below the centre depending on the background. Make sure the text does not cover the main subject of the video. White text is a popular choice, but you can experiment with warm colours, light blue, beige, or another colour that matches your footage. A subtle shadow or glow can make the words easier to read without making them look overly edited.
The next step is syncing the lyrics with the music. This is where your video starts feeling professional. Move each text layer along the timeline until the words appear exactly when they are sung. You do not have to display every single word. Sometimes showing only the strongest part of a lyric creates a cleaner and more emotional result. For faster songs, you can make the text appear more quickly, while slower songs usually look better with gentle animations.
Alight Motion’s keyframe system is especially useful for this. You can animate the position, scale, rotation, opacity, and other properties of your text. For example, you could start a lyric at 95% scale and smoothly increase it to 100% as it appears. Another simple technique is to start with low opacity and gradually bring the text to full visibility. These small movements can make static lyrics feel much more alive.
Try using easing instead of making every animation move at a constant speed. Easing creates a smoother beginning and ending, which is one of the details that can make a mobile edit feel more cinematic. If your text suddenly jumps onto the screen, the result can look basic. A smooth entrance followed by a controlled exit usually feels much more polished.
You can also add motion to the background. A slow zoom-in is one of the easiest cinematic effects. Add keyframes to the scale of your background and make it slowly increase throughout the clip. You can combine this with a small horizontal or vertical movement. Keep these movements subtle. The goal is to create the feeling that the camera is moving naturally, not to make the entire screen shake constantly. Colour grading can completely change the mood of your edit. Alight Motion includes different colour and adjustment options that you can use to make your footage look warmer, darker, cooler, or more dramatic. Try lowering the highlights slightly and increasing contrast carefully. You can also experiment with saturation and temperature. A consistent colour style across all clips is important because inconsistent colours can make the final video look disconnected.
For a more cinematic appearance, consider adding a subtle vignette. This darkens the edges of the screen and naturally directs attention toward the centre. You can also add film grain very lightly if it matches your style. Be careful with grain, glow, blur, and other effects because using too much can reduce the quality of your video. Cinematic editing is often more about controlling effects than adding as many effects as possible.
Transitions should match the rhythm of the music. Instead of using a different transition every few seconds, choose a small number of styles and use them consistently. A simple fade, zoom, blur, or motion transition can be enough. When the beat changes, you can add a slightly stronger movement or flash to make the moment stand out. The transition should support the music rather than distract from it.
Another popular technique is using overlays. Light leaks, dust, particles, lens flares, and soft film textures can add atmosphere to a video. Set their opacity low so they blend naturally with the footage. You can also use blending modes when appropriate to combine an overlay with your background. The important thing is subtlety. If viewers notice the effect before they notice the lyrics or visuals, the effect is probably too strong.
If you want your lyrical video to feel more unique, add small details that match the meaning of the song. For example, if the lyric talks about memories, a soft blur and slow zoom can create a nostalgic feeling. If the song becomes energetic, faster text movement and stronger cuts can match the change in mood. Editing becomes much more interesting when the visuals communicate the emotion of the music rather than simply following a preset.
Before exporting, watch the entire video several times. Look carefully at the timing of every lyric, especially the first and last words of each line. Check whether the text is readable and whether any important part of the footage is hidden. Also check for sudden changes in brightness, unwanted black frames, misplaced layers, or animations that move too quickly.
Finally, export the video using settings that preserve good quality while keeping the file size reasonable. Watch the exported file outside Alight Motion before uploading it. Sometimes a project can look perfect inside the editor but reveal small timing or quality problems after export.
The biggest secret to creating a trending cinematic lyrical video is not using hundreds of effects. Good music selection, clean typography, accurate lyric synchronisation, smooth keyframes, controlled colours, and simple cinematic movement usually make a much stronger impression. Start with these fundamentals and then develop your own style. Once you become comfortable with Alight Motion, you can experiment with more advanced masking, velocity effects, shakes, particles, custom transitions, and creative typography. With practice, even a simple song and ordinary footage can become a visually attractive lyrical video that feels personal, modern, and professionally edited.
IMAGE PROMPT
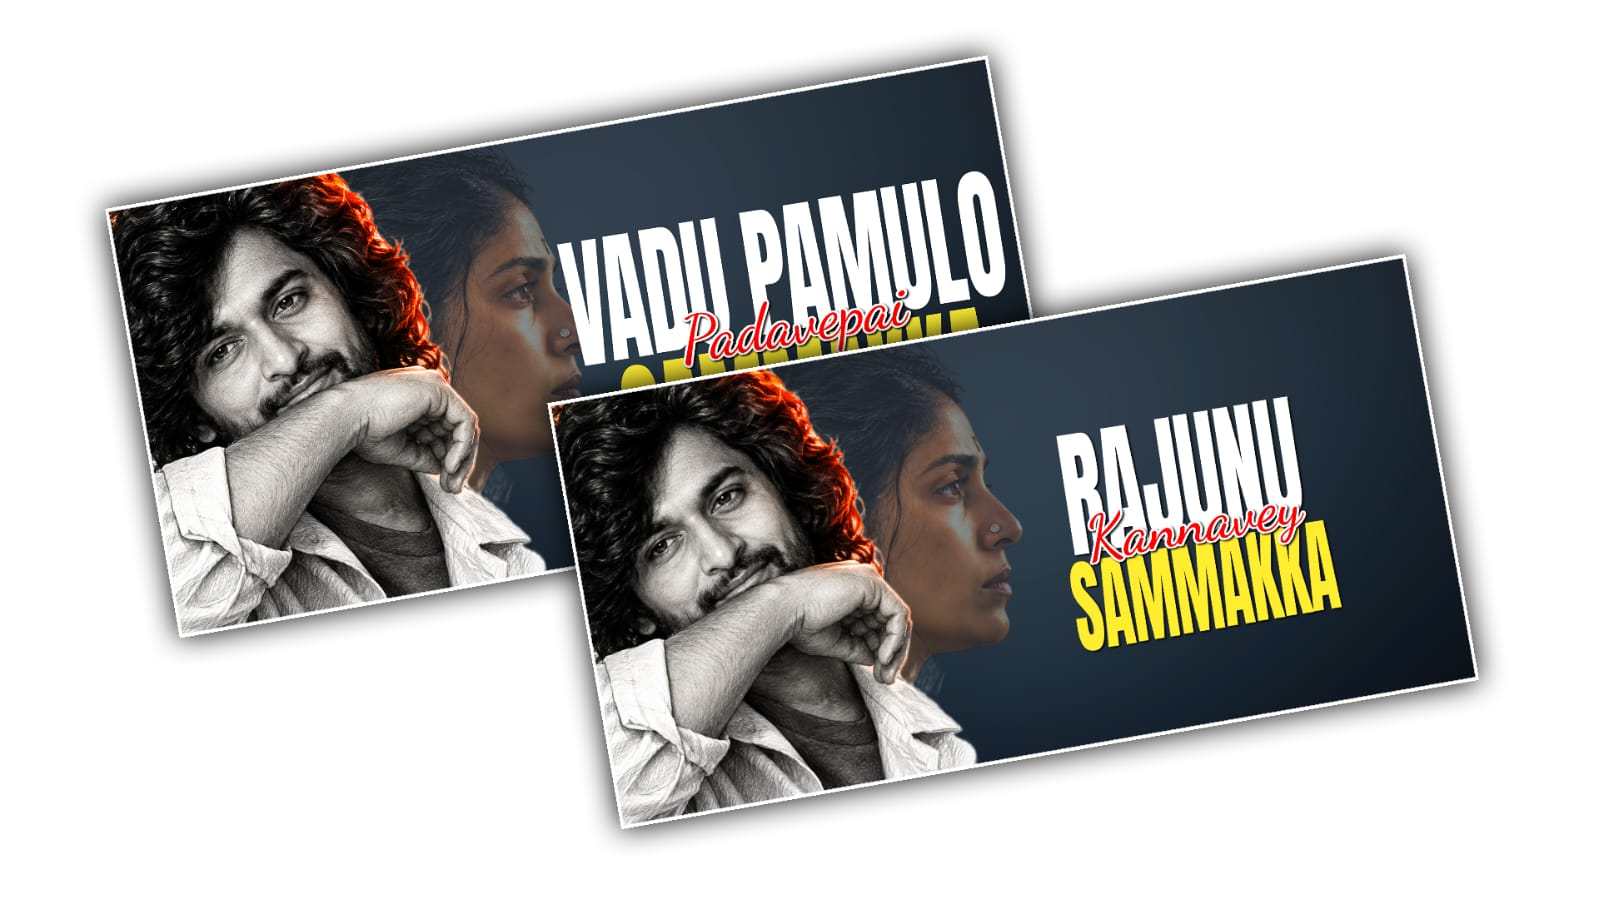
Create a high-quality realistic cinematic portrait using the uploaded photo as the face reference. preserve the person’s original facial features, face shape, hairstyle, eyes, skin texture, expression, and natural proportions accurately. show the young south indian man in a close-up pose, partially covering his face with his folded arm, creating a stylish and mysterious expression. transform the portrait into a highly detailed black-and-white pencil sketch/graphite drawing, with realistic pencil strokes, fine cross-hatching, detailed skin texture, sharp eyes, and natural hair strands. keep the hair highly detailed and add a subtle warm orange-red glow/rim light around the upper hair area for cinematic contrast. use a clean white background with plenty of negative space on the right side. realistic hand-drawn texture, high contrast, sharp details.
