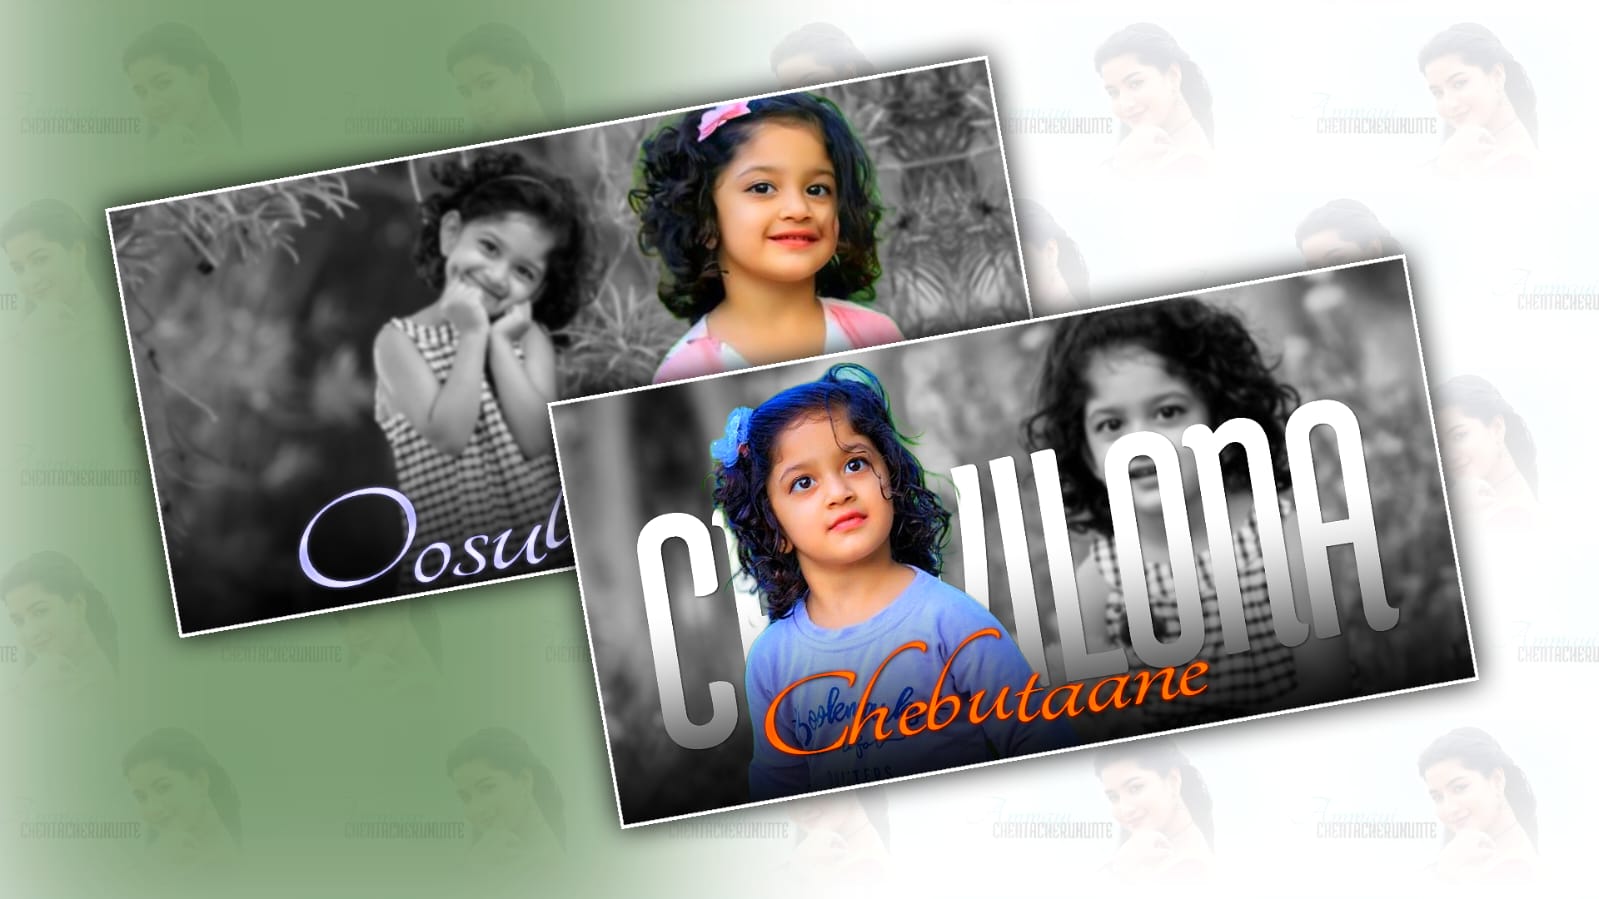

Creating a trending kids lyrical video in Alight Motion can be a fun way to turn simple photos and short clips into an eye-catching edit. You do not need expensive editing software or professional equipment to get started. With a phone, a few good-quality pictures or videos, the right song, and some creativity, you can create a colourful lyrical edit that looks smooth and modern.
The first thing you need is a clear idea of the video. Think about the mood you want to create before opening Alight Motion. For a kids video, bright colours, playful transitions, soft effects, cute stickers, and energetic movement usually work well. You can collect several photos or short clips of the child and arrange them around the lyrics of your chosen song. Try to select images that have good lighting and are not blurry because clear visuals make the final edit look much better.
Once you have your photos and clips ready, open Alight Motion and create a new project. Choose the aspect ratio based on where you plan to share the video. For platforms that mainly use vertical videos, a vertical project is usually the most suitable. A common choice is a 9:16 format because it fills the phone screen naturally. You can choose a frame rate such as 30 fps for a normal edit, while higher frame rates can be useful if you are working with slow-motion footage.
After creating the project, import your main photos and video clips. Arrange them in the order you want them to appear. Do not worry about adding effects immediately. First, make sure the basic timing feels right. A good lyrical video should not feel too slow or too crowded. Let each picture stay on the screen long enough for viewers to notice it, then change the scene when the music or lyrics change.
The next important step is adding the song. Import the audio into your project and listen carefully to the beat. If you are making a lyrical edit, the timing of the text is one of the most important parts. You can place markers or use the audio waveform to identify important beats, pauses, and changes in the song. When a lyric appears at the right moment, the entire edit can feel much more professional.
Now you can start working on the lyrics. Add a text layer for each line or short phrase instead of putting the entire song on one screen. Choose a font that is easy to read and matches the cheerful style of the video. For a kids-themed edit, rounded or playful fonts can work nicely, but avoid fonts that are so decorative that the words become difficult to understand.
Text animation is where Alight Motion becomes especially useful. Instead of simply making the lyrics appear and disappear, you can animate their position, scale, rotation, or opacity. For example, a lyric can gently move upward while fading in. Another line can appear with a small zoom effect and disappear when the next lyric starts. These small movements make static text feel alive.
Try not to use the same animation for every line. A little variation can make the video more interesting, but too many different effects can make it look messy. The goal is to make the animation follow the music rather than compete with it. Smooth and simple movements often look better than complicated effects used everywhere.
You can also add colourful shapes behind the lyrics. A soft rectangle, circle, gradient, or glow can help the text stand out from the background. If the photo has a lot of detail, a slightly transparent background behind the words can improve readability. For a kids video, pastels, bright highlights, stars, hearts, clouds, bubbles, and other playful elements can add personality.
Transitions are another important part of a trending lyrical edit. Alight Motion allows you to create your own transitions using keyframes and effects. A simple zoom transition can work well when moving from one photo to another. You can also experiment with sliding, rotating, fading, or scaling. The important thing is to match the transition to the beat.
For example, if the music has a strong beat, you can slightly zoom the image on that beat. When the beat changes, switch to the next photo. This technique is simple but can make the video feel much more connected to the music. Avoid adding a transition between every tiny movement. Sometimes a clean cut is exactly what the edit needs.
Another useful technique is the slow zoom effect. Select a photo and use keyframes to slightly increase its scale during the duration of the clip. You can also move the image slowly from one side to another. This creates movement even when you are working with still photographs. For children’s pictures, gentle zooms can give the video a warm and memorable feeling without distracting from the subject.
You can improve the visuals further with effects such as brightness, contrast, saturation, blur, glow, and colour adjustments. Use these effects carefully. A small amount of colour enhancement can make photos look more vibrant, while excessive saturation can make skin tones and backgrounds look unnatural. If your photos were taken in different lighting conditions, try adjusting them so they have a similar overall appearance.
For a more modern look, you can add small overlays such as light leaks, sparkles, particles, or soft bokeh. These elements should support the main photo rather than cover it. Keep important areas of the image visible, especially the child’s face. A good edit gives the viewer a clear focal point.
You can also create a short intro and ending. The intro might show a simple title, name, or short phrase before the main lyrics begin. Keep it brief so viewers reach the main part of the video quickly. At the end, you can use a soft fade-out or a final photo with a simple animated message.
Before exporting, watch the complete video several times. Check whether the lyrics appear at the right moments and whether any transitions feel too fast. Look for spelling mistakes in the text and make sure every important word is readable. Also check that the music volume is comfortable and that effects do not overpower the main content.
If you want the edit to look polished, consistency is more important than adding lots of effects. Try to use a small group of colours, fonts, and animation styles throughout the video. This creates a visual identity and makes the different scenes feel like parts of the same project.
Finally, export the finished video in a suitable resolution and frame rate. Watch the exported file once before uploading it because sometimes an effect, transition, or text layer can look slightly different after rendering. Keep a copy of the original Alight Motion project as well, especially if you may want to make another version later.
Creating a trending kids lyrical video is mostly about timing, creativity, and keeping the viewer’s attention. You do not need to use every effect available in Alight Motion. Start with good photos, match the lyrics to the music, use smooth keyframe animations, and add colourful elements where they make sense. As you practice, you will become more comfortable with keyframes, transitions, text animation, and effects. Eventually, you can develop your own editing style instead of simply copying popular edits. The best videos usually come from combining a simple idea with good timing and a personal creative touch.
