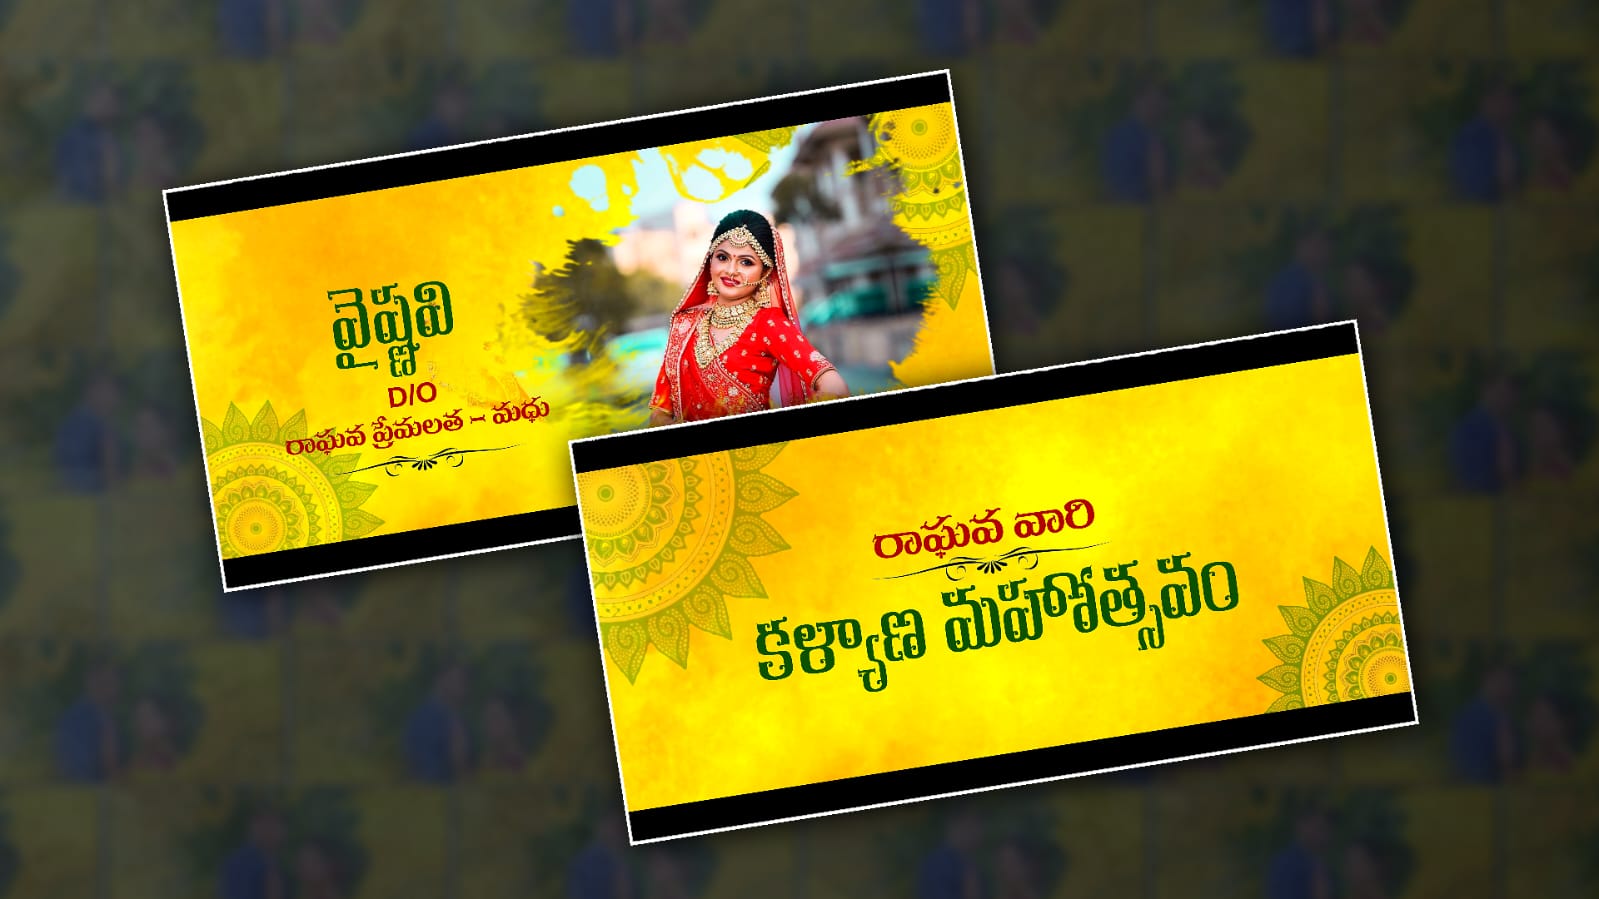

Hello everyone ,welcome to our website. In this article, I will give you step-by-step instructions on how to edit a Telugu wedding invitation video in a professional and high-quality cinematic style, and that too in the Alight Motion app. Read it completely and edit it. It is very professional. Usually, we edit such videos using big software on computers. So not everyone may have computers, so I will tell you how to edit on mobile. Even if you do not have any system knowledge, you can edit it easily.
What files are required for this?
- Yellow background
- Stylish Telugu fonts
- PNG photo of Lord Ganesha
- Circle decoration PNG photos in the background
- Two separate photos of the bride and groom to add to the background.
- Couple photo.
- Ink drop video to add another photo.
- Wedding-related music.
- Alight Motion app installed on your mobile.
So now let’s start video editing first. After you open Alight Motion, click on the plus icon. The plus icon is green.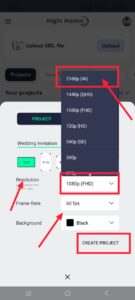 Next, here you have to select a 16:9 ratio because if it is in high quality, the output will be very good for us, so you should select this. Then here you have to set the resolution as high as possible. Then take the background black and click on Create Project.
Music Adding
First, you add music. For this music, you click on the second one in green colour, and then the options will come.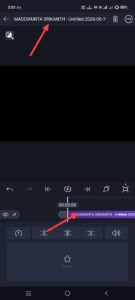 Click on the audio option above and add music. After adding music, we have to take a background.
Background Image Adding
Take a photo like the one in Yellow colour. Click and add an image. After adding the image, now we have to animate the design like the one in the circle on the image. They should also be added first. For this, you have to go back once again, click on the green plus icon,n click on the media option and add it from the gallery. First, you have to change the animation for each slide. The animation should also change.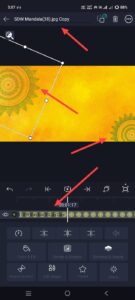 After adding it like this, now you have to animate these. Each slide should be for 6 seconds. Then, in the same way, each slide should also be kept as an arc. For the first slide, keep all the layers you took for six seconds and delete the extra ones. Now we have to animate this circle. For this, you click on that layer and come to the starting position. When you get to the starting point, click on the Move and Transform option. Here, there is a keyframe on the left side. Add it there. After rotation, there is a rotation option on the right side. Click on it and add a keyframe. Then, when the layer reaches its end, add another keyframe. Now rotate it by 10 degrees or nine degrees. After rotating it, rotate another circle design like the one at the bottom in the same way. Animate it in the same way.
God Photo
Now you need to apply another God photo, the Lord Ganesha photo. 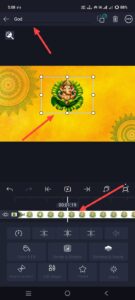 For that, you need to add it again and click on the plus option and add the photo. After adding the photo, adjust it there properly. Similarly, make a colour grading and put it in the middle and animate this too. For this, after clicking on these photos and centring them properly,
Om Sri Ganeshya Namaha Text Adding
Now you need to add text. This text is Om Shri Ganeshaya Namaha. For this, you need to come back again and take a text here, click on the green colour for the second time and click on the text. Click and take a text here, select the dark green colour below it and select the font style, and make it align. Okay, so now a slide is complete.
Animation
We need to apply another layer to this entire slide to make a zoom-out animation.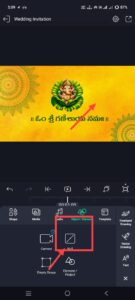 For this, after you come back again, click on the plus sign in green colour, and here there will be an object element option. Go to it; there will be a null option. Click on this Null option, and a layer will be added to us there. Now all the layers in this slide need to be connected to the null layer. For that, first select each layer and click on the layer option at the top. Then, if you scroll down, the null option will be there. You need to number the null corresponding to the slide, whichever side you take. Numbering should be done. Then it will be easy for us to connect for finding out. Cut and connect like this. When you press on the six Null, that layer will be connected to that Null. In the same way, connect all the other layers. Then, if you want to create another slide, you have to upload each one at a time. It will waste a lot of time. If you need to edit quickly, reproduce exactly all the layers that are inside the initial work, as well as all the layers that should be inside the first slide and paste them inside the next slide. Select each one that is not there. If you want to replace the text content layer, click on that layer and click on the appropriate text content option. You will get the edit option. Go into it, and you can replace the text. All the others will be added in the same way. So, you just have to click on the Null layer here and just set a number to it.
Photo Slide Create
Create all the slides in the same way. If you want to create a slide with a photo, you need to add a video clip as an extra. After adding the ink drop video clip, add a photo under it. Add the photo, then click on the layer where the ink drop is, go to the blending and opacity options, and scroll down.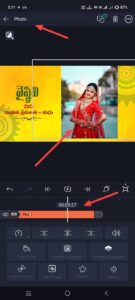 At the end, you will have an option called Mask. Click on it and add the photo to that mask. It will be added. After adding it, select both of them and create them as a group. Create them as a group and connect the same group layer to the null option. Connect it as mentioned in the starting step.
Couple Photo Slide
After that, if you want to add a couple photo, you should also add the couple photo using the same process mentioned earlier, but you should create the couple photo only after creating the group and bride slides separately.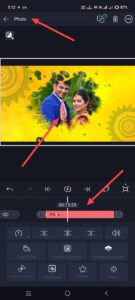 It is enough to add a date under the Save the Date at the end. This video meeting will be complete. Check the video edited like this once and do a final check. A common mistake that many people make is that even when editing videos, they edit them quickly and then upload lower-quality images, resulting in less resolution. Similarly, they cannot apply layers at the correct time. They cannot save in high quality while saving. Such small mistakes can lose a very professional look. So, after seeing everything clearly once, tap on Export and then export.
