Welcome to another article. In this article, I will tell you how to do name reveal video editing in Telugu and English at a cinematic level. Name reveal is the first name reveal for kids, which is very trendy now. And you don’t need to use a computer for this editing; you can do name reveal editing on your mobile phone, that too in the Alight Motion app, professionally and easily. Read this article completely, and you can also edit it yourself. Let’s see what is needed to edit this.
What is needed for these name reveal video edits
- BGMs with dialogues or cinematic music
- There should be a red colour particle effect video to add as the background.
- There should be some Telugu fonts or English fonts
- Alight Motion should be installed on your mobile
- If you want to edit the countdown numbers yourself, you can do it in this application. But if you want it to be professional, you also need countdown clips.
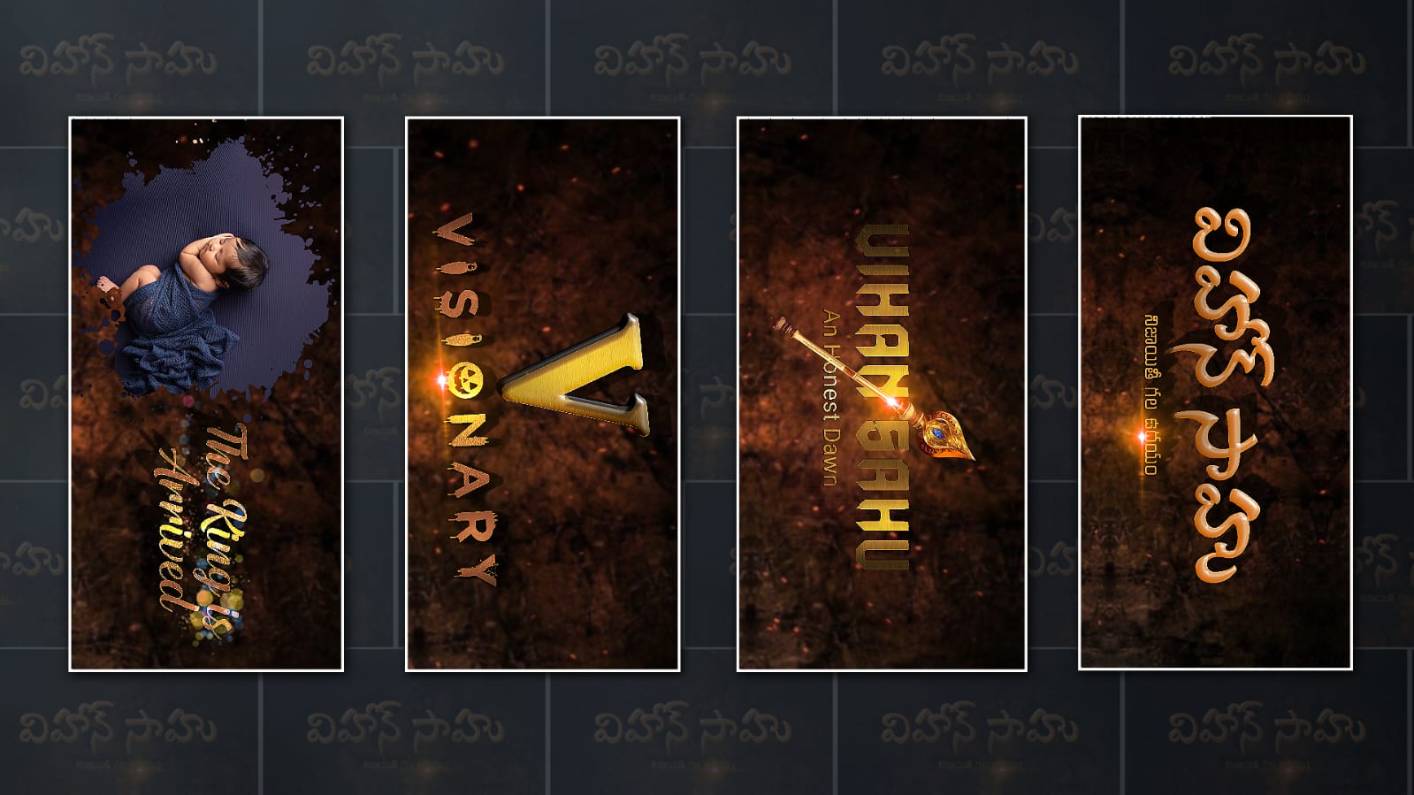
- To add this, you need a baby photo and parents’ photo as well as their names, and if you want to add any other names, you need their names.
- You also need a lighting effect photo to use when the text is animated.
- You need a red colour image in the background.
Now let’s start editing using these. Generally, there are some ratios for video editing; if we want a cinematic look, we need a 16:9 ratio. Whatever we edit in this ratio will have a cinematic or professional look.
Countdown Animation
Here we need to take the first step, which is the countdown; that is, numbers and matte. If you have footage or clips from anywhere, you can add them, or I will also give you a suggestion on how to edit them.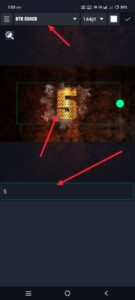 Open the numbers, and here you click on the plus icon. Click there, and there you have to enter the project name, background colour, and resolution. Then take the frame rate as high as possible and click on Create Project. Then it will go to step. There, again, click on the plus icon in green. Click on the Media option. In it, add a background picture photo in cinematic red dark colour from the gallery. This photo should be in landscape. Now we need to fit this photo to the screen. For this, you can fit it in two ways; one is the Move and Transformation option. The second is to click on the three dots at the top in the right-side corner and click on the Fill Composition Area option. It will also fit us. Then we need to animate the numbers on this. First, after coming back again, click on the plus sign in green colour. There, click on the Add Text option and type the number one in it. After taking it, increase the size of this number one text as much as possible. After increasing the size, align the centre. After doing so, if possible, you can also apply a texture to this text. Texture means that you can add images to the text, not just colours but also images. Let’s see how it works now. When you click on the text layer, on the left side we have an option known as Colour and Fill. If you go to this option, you will have a gallery option there. If you click on it and select the image, this image will be automatically added.
 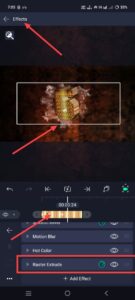 Now we want to use the three-D effect for this newsletter. For this, click on the text you are not in. Then click on the Effects option. Go to Effects and click on Add Effect. Search for “Raster” in it. If you want to convert any text or image, PNG image or video into 3D, we can edit it with this effect. Using the options in this effect, you can animate this text as you like. Now, if you want to count down to ten or up to five, copy the same text and add as much duration as you want and copy, duplicate or paste from there. In this way, you can make animations up to five or ten. After that, add some clips related to the temple. If you do this, the videos will be a little devotional, trendy and professional.
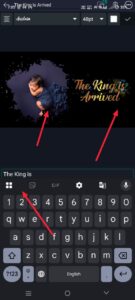 Now, from the next slide, after the baby photo, go to the baby details, then in the next slide, add the parents’ photo and parents’ names, then in the next slide, if you want to add any other quotation, do so, then from there, add all the letters in the baby’s full name letter by letter. As I told you at the start, the countdown was animated letter by letter. In the same way, each letter has a complete meaning under that letter, and all the slides should be created, that too based on the background music.
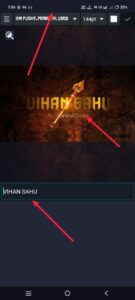 Now, after all the letters are revealed one by one, half of the name needs to be revealed once. For this, create a separate slide and give different effects here. If you want to give a fire effect here, add text and take the half name that is in the name.
Add 3D Effect
Take the half name, apply a 3D effect to it, and then apply a fire effect to that effect. There, search for Electric. You will get the effect. Click on the effect and add it. You can edit the fire effect with the options available in it.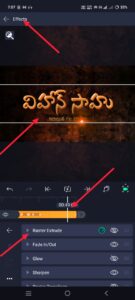 Similarly, for whatever is the other half of the name, do the same effect and edit it so that the entire name is revealed at once in the next slide. The separate side of this slide should have a slightly longer duration because we have a name reveal, which is what we are editing the video for. Then on the next slide I will actually highlight the same factor again; Here I will do the animation in an unusual style. For the animation, as I said at the start, you have to use the raster option. With the effect, you can do different animations in 3, and even if there are photos in the last one, you can add some more photos and animate and edit those photos. In this way, we can edit the name reveal cinematically in this Alight Motion app like a professional. If you want to save the video, click on the share option in the right-sided menu, select high quality, select the frame rate and bitrate and click on the export option.
Fonts Download
Music Download
AMPresett Import
Hi, I’m Srikanth, the founder of Srikanth Digital Works. I concentrate on Photo, Video editing, visual design and virtual content creation. Through this website, I provide editing tutorials, suggestions, and industry insights to help builders enhance their virtual capabilities.