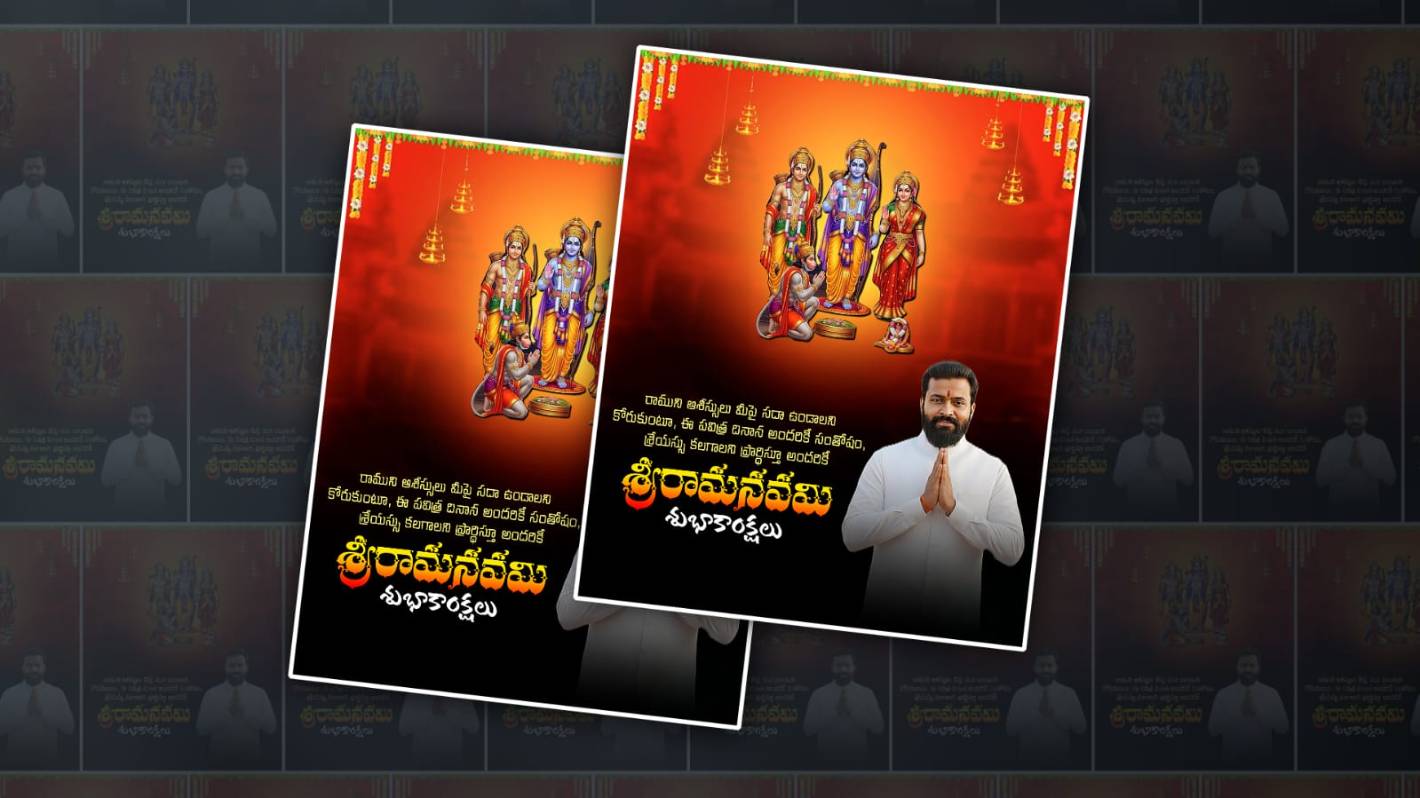
In this article, I will tell you how to edit a festival poster editing or photo editing. Festival editing means that you can edit any photo or festival in the same way. In this article, I will tell you how to edit a festival, i.e. Sri Rama Navami photo editing, by inserting a photo of your choice. Sri Rama Navami is a big festival celebrated in India. On this day of Sri Rama Navami, all devotees go to temples. In the temples, there is a wedding of both Rama and Sita, so they celebrate it grandly with songs and applause. So now let me tell you how to edit it.
Let’s gather what we need for this editing
- First, we need an image of Rama.
- Sita, Lakshmana and Anjaneya. Along with that.
- You should also install the Alight Motion app on your mobile
- Similarly, whatever photo you want to add, you need a PNG image.
- Similarly, you need some decorative PNG images to add to this photo.
- Also, a quotation related to Lord Rama or a good quotation related to the temple.
- A red-coloured image to add in the background.
Now let’s start editing using these.
First of all, you need to open the Alight Motion application. After opening it, select the4:5 project ratio. Then click on the Create option and open it. Here, the first thing you need to see is that if you want to add any photo or any shapes, click on the green plus icon at the bottom. Then click on the Media option. There you will be taken directly to the gallery. There you need to add the background image from the gallery.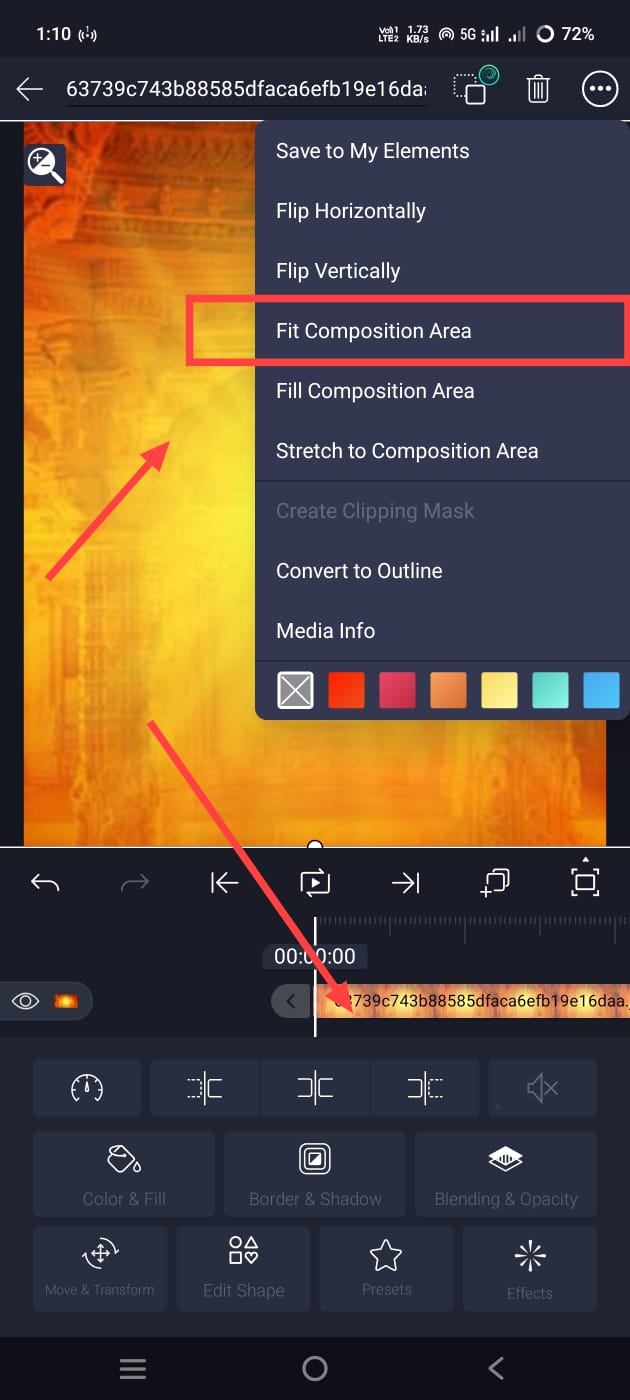 After adding this image, you need to fit it to the screen that you have taken; that is, set it to fit all the corners in Alight Motion. For this we have two options, one is to click on the three dots option on the right side and there is an option called Fill Composition Area, click on it and you can fit it or when we click on this layer, there is a Move and Transform option on the left side below, by clicking on this option you can also make adjustments, besides you can also adjust it in another way, you can easily move it wherever you want with your hand finger and you can also fit it to the screen.
Add Decorative Images
After doing this, now you need to apply some decorative designs to the background photo of that photo.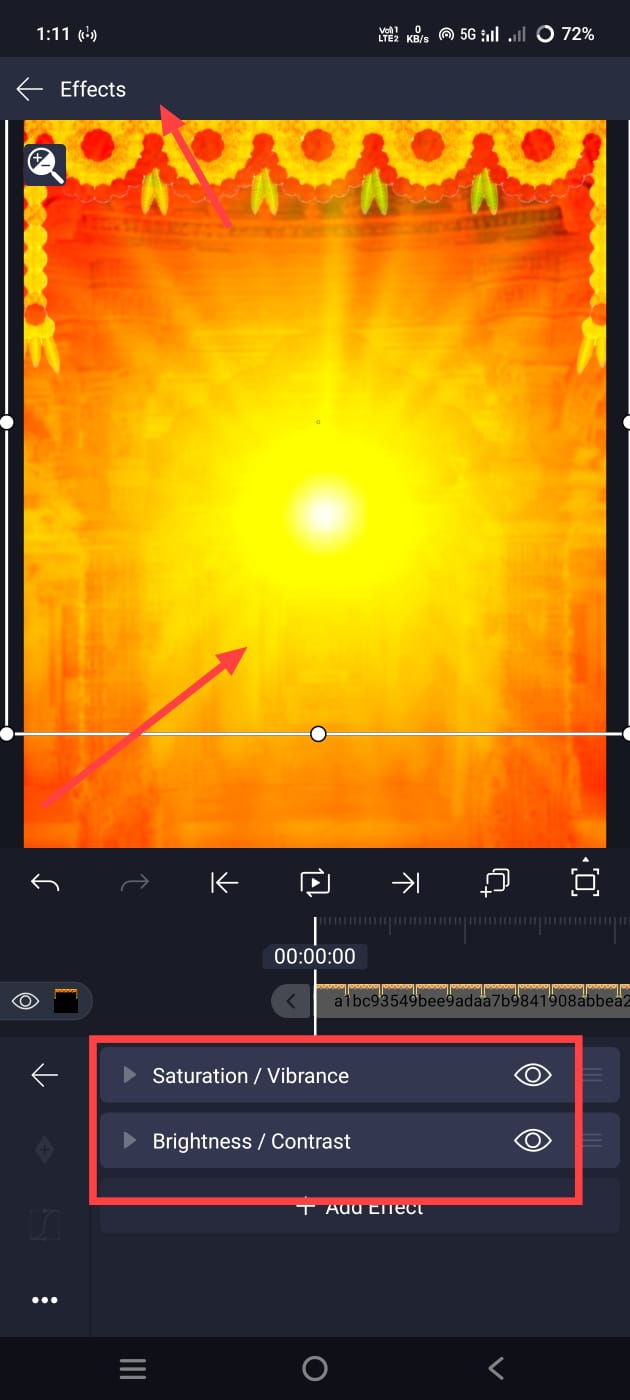 For this, you simply come back again and click on the plus sign in green, click on the media option and add these photos from the gallery and place this design exactly on top. Place it on top and keep it visible on top as much as the left corner matches the corner.
Improve Background Image
After that, you need to add some effects to make the background photo you took look a little clearer and more colourful. For effects, you simply come back and click on the layer option you took. Then there will be an effects option below. Click on it and add all the effects related to the colour of the effects. After that, you need to add the main photo. For this, come back again as told to many people, then add the photo from the Media option galleries after the plus icon in green. This photo should only be added with the background removed. If there is a single colour in your background, we can remove the background in this one; let’s see how to do it now. After adding the photo, click on the effect in the photo, then click on the Effects option at the bottom, go to Effects, click on Add Effect, now search for this option in Effects, search for Chroma, and apply the effect and select the colour you want to remove the colour of the eye). Now the colour will be removed automatically.
Photo Adding
Now you need to adjust or rotate your photo to the left or right because we need to add a quotation as well as our name and some other text opposite that photo. Before that, we need to do some photo clarity improvements to this photo.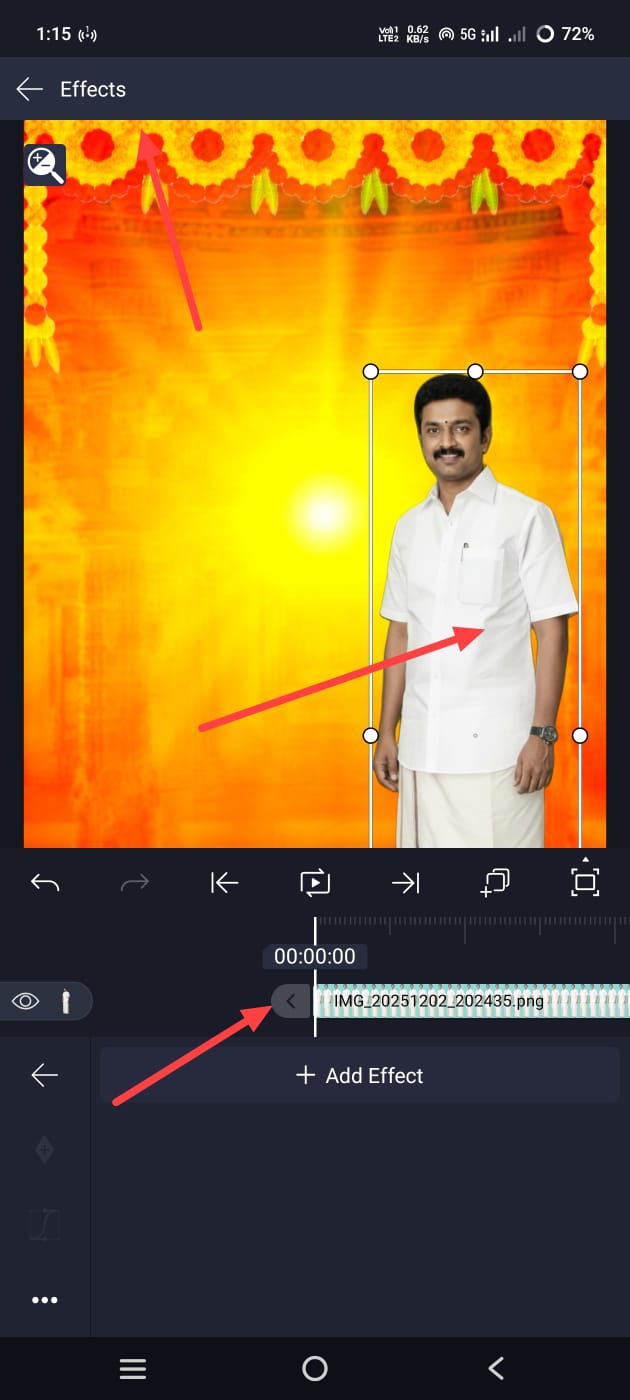 For this, again click on Add Effect, go to Effects, and you need to add some effects here. After that, adjust this photo.
Add Feather or Smooth to the bottom of the photo.
Now, apply smoothness to this photo. That is also important because by adding this smoothness, we will get a professional look, and it will blend into the background. Along with the professional look, it will blend into the background, which will give our photo a professional look.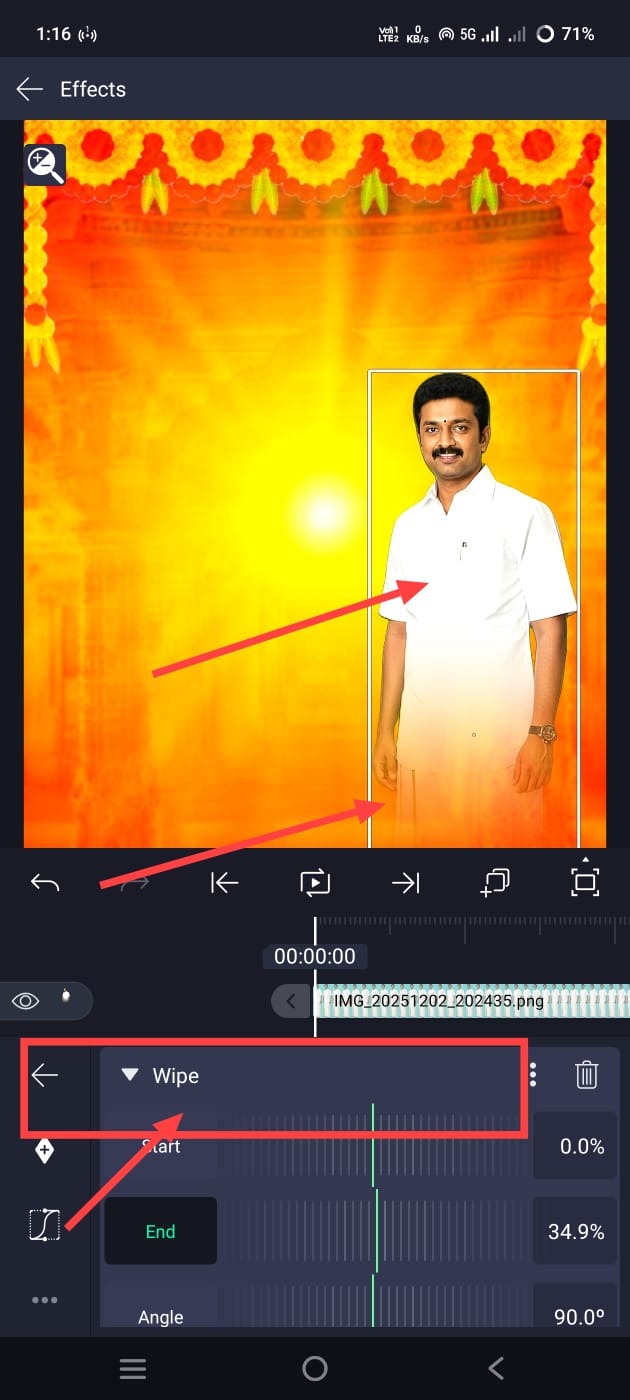 For this, first click on these photos again and click on the Effects option. Then go to Effects and search for feather there. If you search for feather, you will get an effect. If you click on the effect, then you have to take the standard settings. Using the options in this, we can increase the smoothness.
Add Quote Text
Then we have to add a quotation next to this photo and a text called “I am Sri Ramanavami”.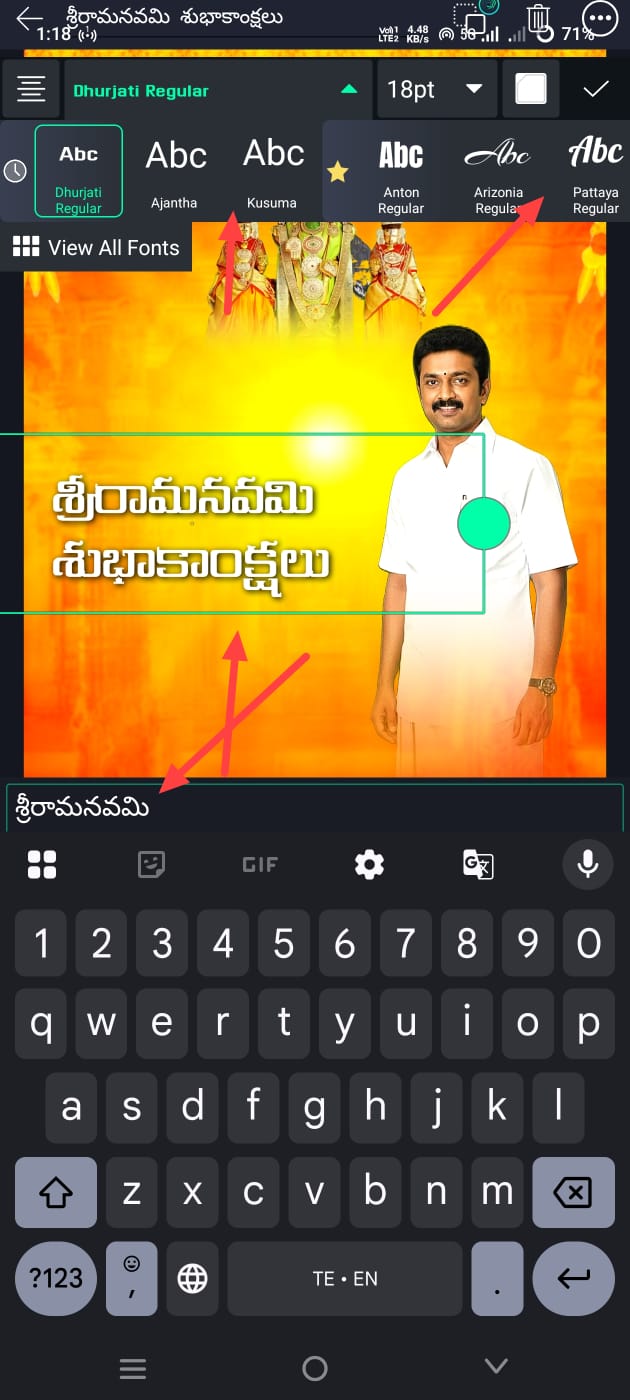 For this, simply come back and click on the green plus sign, then on the right side there will be some options, it will say Add Text, click on it, then add a text and you have to add it to us in Telugu, so you have to type it in Telugu, a quotation, if you don’t know this quotation, you can take it from anywhere, either your own or from Google, you can bring the text and add it here. Now you have to apply a good font to this text, as well as apply all the colour and size. When you click on this text, there will be an edit option below, if you click on it, all the options related to it will be at the top, make adjustments, you have to get a color for it and you have to take it in yellow color or white, then put this message a little above and keep it so that another name appears under it. After adding the same in the same way, click on this text layer, then click on the plus sign on the right side, and there will be a duplicate or copy layer option. It doesn’t matter if you copy it; otherwise, duplicate i,d click on that layer, click on Edit Text, remove all the text in it and type this here: Sri Rama Navami wishes. Apply a different font to it, apply a different colour, and keep the size large. Because this line is the most important for us,
Add Your Name
Then we need to apply another text under that name; that is our name. How did we add all the text? Add this text too and replace the name here, or you can copy and paste or duplicate it as mentioned above and click on the name layer and replace it. All this is also the text photo; all the other decorations are aligned, and make the correct adjustment.
Now Save
Now,w if you want to save this photo, click on the share option in the right-sided corner, click on the current frame option there, type it and save it later. In this way, you can do photo editing simply. There are many other photo editing options, or if there are applications, you can also edit them using them. So,o for us, this application is not actually related to video editing, but since it has more options than the options available at home, it is also useful for photo editing. If you have any other doubts, ask in the comments section.
AM Project
Import
Import
Hi, I’m Srikanth, the founder of Srikanth Digital Works. I concentrate on Photo, Video editing, visual design and virtual content creation. Through this website, I provide editing tutorials, suggestions, and industry insights to help builders enhance their virtual capabilities.